Webhooks Integration Guide
Build a fast, event-driven user experience by subscribing to real-time generation status updates instead of polling.
Webhook Event Lifecycle
Whenever a task is generated (Try-On, AI Model, Poses, or Recolor), Vtryon triggers automated lifecycle updates.
Created
API receives the try-on request. Webhook triggers: 'queued'.
Processing
GPU starts rendering. Webhook triggers: 'processing'.
Completed
Drape, lighting completed. Webhook triggers: 'completed'.
Webhook Sent
Payload containing 4K output URL is sent to your endpoint.
Configuring Webhooks from Dashboard
Set up and manage your webhook notification endpoints via our frontend settings page.
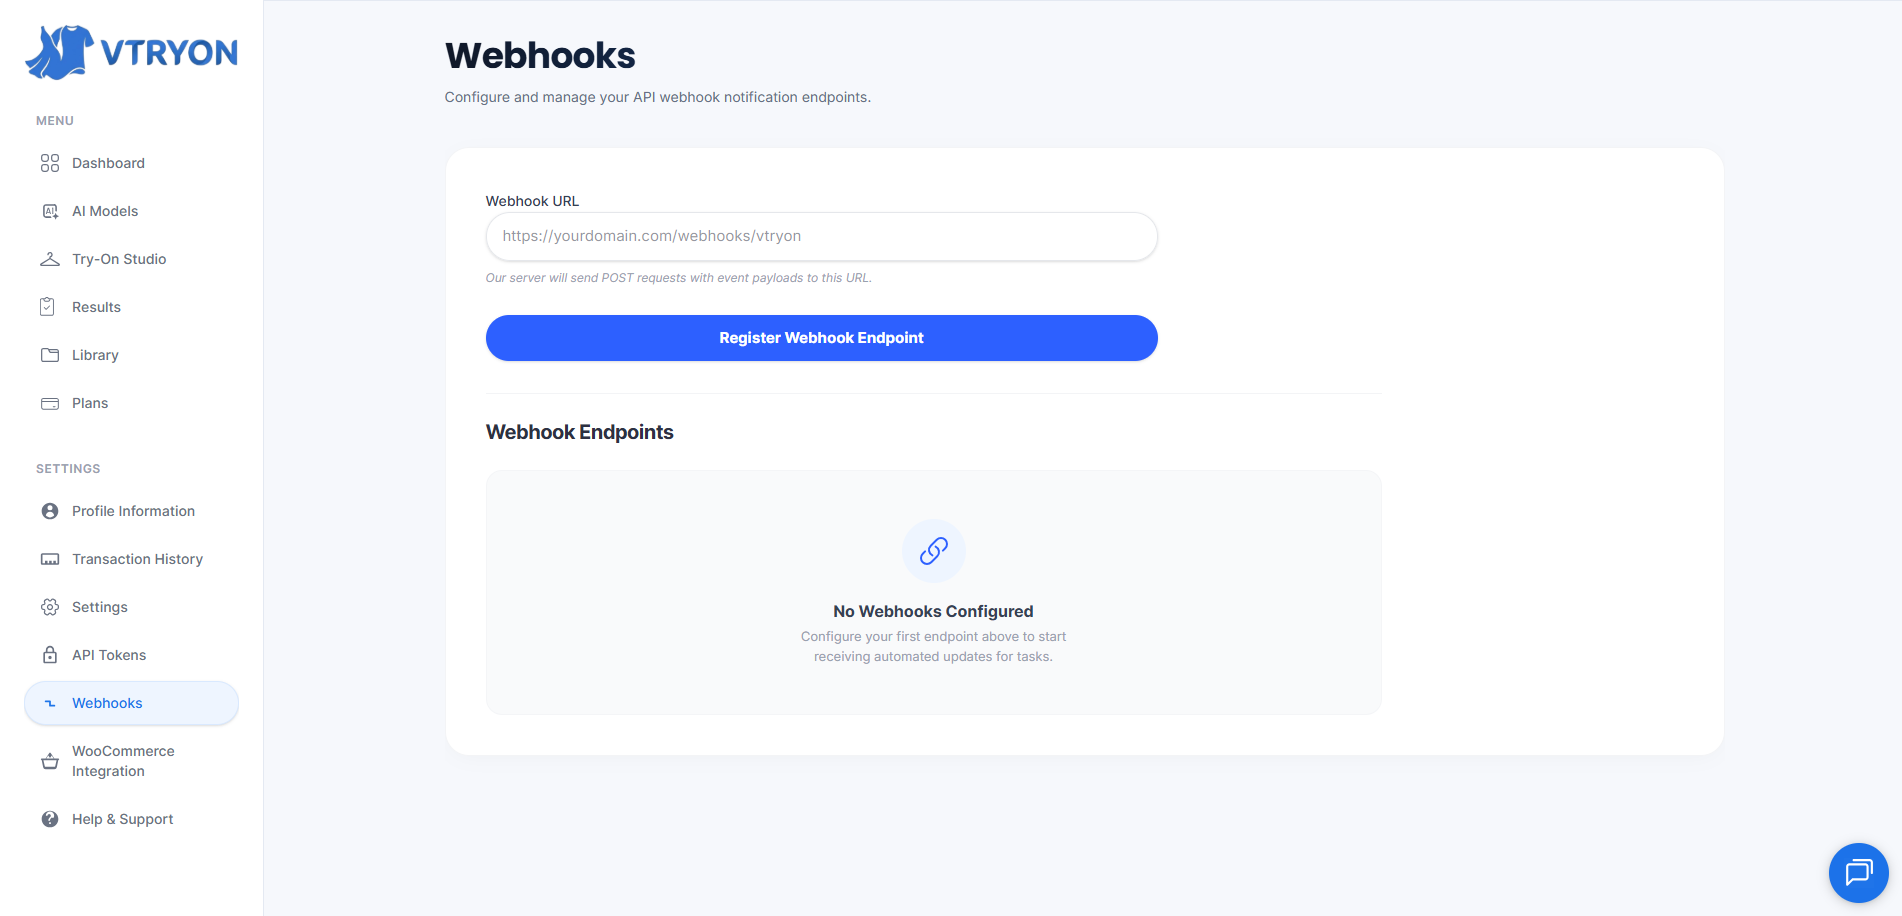
Access the Webhooks Panel
Log into your Vtryon seller account. From the left-hand sidebar menu, navigate to the Settings section and select the 'Webhooks' tab.
Specify Your Destination URL
Under 'Webhook URL', input your backend endpoint address (e.g. https://yourdomain.com/webhooks/vtryon). Ensure your server endpoint accepts POST requests and resolves to HTTPS.
Register Your Endpoint
Click 'Register Webhook Endpoint'. The system will register your URL and instantly display a secure Webhook Secret Key.
Secure Your Secrets
Save the generated secret key securely as an environment variable in your production server. The secret key is essential to verify webhook request signatures.
Keep this secret safe. Do not commit it to public repos or share in client code.
Signature Verification & Security
Secure your server by validating the authenticity of incoming webhook requests.
Why Verify Webhook Request Sources?
Since your webhook receiver endpoint is public, it could potentially receive unauthorized, malicious requests posing as task completions. To prevent this, Vtryon signs every webhook request using your unique Webhook Secret Key and places the signature inside the custom HTTP header x-vtryon-signature.
- Retrieve the raw payload string directly from the incoming request body. Do not parse it first, as key spacing affects HMAC results.
- Extract the webhook secret key registered inside your Vtryon Dashboard settings.
- Compute a SHA256 HMAC hash using your secret key as the encryption key and the raw payload body as the data.
- Compare the computed hexadecimal string with the
x-vtryon-signatureheader using a safe constant-time comparison helper.
Backend Webhook Handler Examples
Deploy secure, production-grade receiver code directly into your Node.js or Python backend.
const express = require('express');
const crypto = require('crypto');
const app = express();

// IMPORTANT: Parse the raw request body to verify the signature accurately
app.use(express.json({
  verify: (req, res, buf) => {
    req.rawBody = buf.toString();
  }
}));

const WEBHOOK_SECRET = process.env.VTRYON_WEBHOOK_SECRET;

app.post('/webhooks/vtryon', (req, res) => {
  const signature = req.headers['x-vtryon-signature'];

  if (!signature) {
    return res.status(401).send('Missing signature header');
  }

  // Compute the expected HMAC signature
  const hmac = crypto.createHmac('sha256', WEBHOOK_SECRET);
  const computedSignature = hmac.update(req.rawBody).digest('hex');

  // Compare signatures securely using constant-time comparison
  const isSignatureValid = crypto.timingSafeEqual(
    Buffer.from(signature, 'utf-8'),
    Buffer.from(computedSignature, 'utf-8')
  );

  if (!isSignatureValid) {
    return res.status(401).send('Signature verification failed');
  }

  // 1. Instantly acknowledge the webhook with a 200 OK
  res.status(200).json({ received: true });

  // 2. Process the event payload asynchronously in the background
  const event = req.body;

  if (event.event === 'generation.status_changed') {
    const { task_id, status, data } = event;
    console.log(`Task ${task_id} status updated to: ${status}`);

    // Trigger reactive UI updates (WebSockets, Server-Sent Events, etc.)
    switch (status) {
      case 'completed':
        // Update DB, send socket notification to user with data.result_url
        break;
      case 'failed':
        // Update DB, notify user of failure reasons: event.error.message
        break;
      default:
        // Update status in local database
        break;
    }
  }
});

app.listen(3000, () => console.log('Server is running on port 3000'));
Production Best Practices
Adhere to these rules of thumb to guarantee highly robust, failsafe integrations.
Respond with HTTP 200 Quickly
Always return a 200 OK status immediately upon receiving the event payload. Do not execute long-running database transactions or downstream API requests synchronously within the request thread. Accept the event, respond, and process details in the background.
Handle Event Retries
Vtryon expects an HTTP 2xx response code. If your server is offline or returns an error status (5xx, 4xx), we will trigger an automated retry policy using exponential backoff (retrying up to 5 times over 24 hours). Ensure your handlers are idempotent to handle duplicate events safely.
Require HTTPS (TLS)
Only register HTTPS-secured endpoint URLs in production settings. This prevents intermediate eavesdropping on the raw request bytes and preserves payload confidentiality during transit.
Idempotency & Duplicate Prevention
Occasionally, network hiccups can cause identical webhooks to be dispatched twice. Always track the unique task_id in your database. If you receive an event with a status that is already processed (e.g. task marked completed), simply return 200 OK and ignore.
Mastered Webhooks?
Connect event outputs back into your client dashboards, or review other API services.